You must have seen the “Spin To Win” wheel on many websites in which they offer you discounts based on spinning the discount wheel. Isn’t it fascinating and a great way to optimize your website conversions?
If you’re a website owner and want to add that magical spin the wheel feature on your website then this article is for you. In this guide, I’ll be sharing with you how to create spin to win campaigns in Woocommerce.
A spin-to-win game campaign is really a great way to attract visitors and increase conversions on your website. The spinning wheel optin lets you offer your customers special offers, discounts, and prizes.
Let’s get started with the guide.
Table of Contents
How to Add Spin to Win Campaign in WordPress?
The spin to win feature can be added to your WordPress website by using OptinMonster, It is one of the most popular email list building and conversion optimization tool available online.
Just to keep things simple, I’ve divided the complete guide into 4 simple steps.
Step 1: Install and Activate OptinMonster Plugin
The first thing is to get the OptinMonster account and plugin for your website. Sadly, but there are no free plans of OptinMonster. So you have to get their premium plans to add the spin to win feature.
Just go to the OptinMonster website, and get the pro plan.
Now, Install the OptinMonster plugin on your WordPress website from here.

Step 2: Create a New Campaign
Now, log in to your OptinMonster account.
Click on “create a new campaign” from the top right corner of your screen.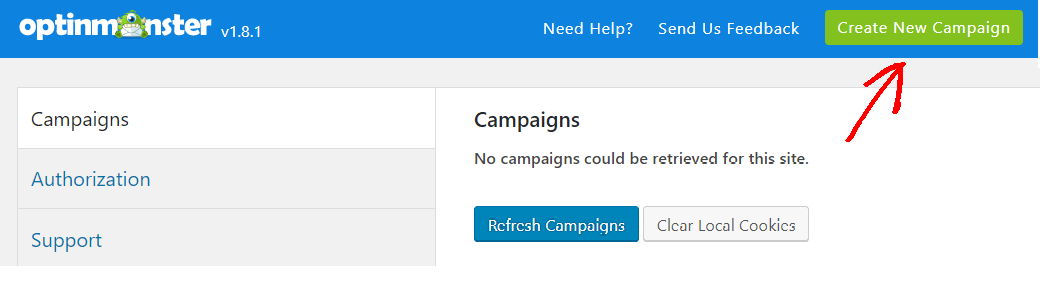
Select the full-screen” option.
Choose the campaign wheel template from the templates.
Give a name to your campaign and then you can customize the complete spin wheel.
The optinmonster builder will give you the option to completely edit the wheel like the discounts/prizes, design, color, fonts, size, etc For example, you can add coupon codes to the wheel.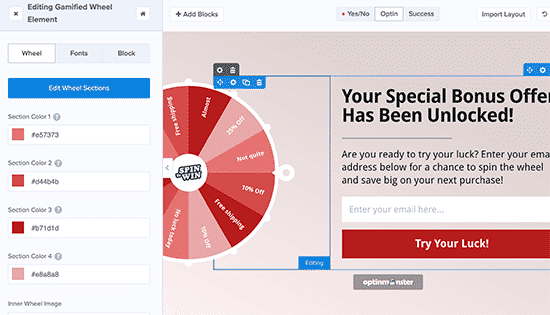
Once you are done, click the save button.
Step 3: Set Display Rule For Your Spin Wheel
You have to set up display rules for your spin wheel.
Just click on the display rules from your OptinMonster dashboard where you will have the option to set different display rules. For example, you can set the exit-intent to show the wheel when any user is about to leave your website.
After setting it up, click on the next step.
Step 4: Add and Publish Spin Wheel to Your Website
After configuring your spin wheen campaign, you have to add the wheel to your website.
Just click on “Publish” and set the status to live.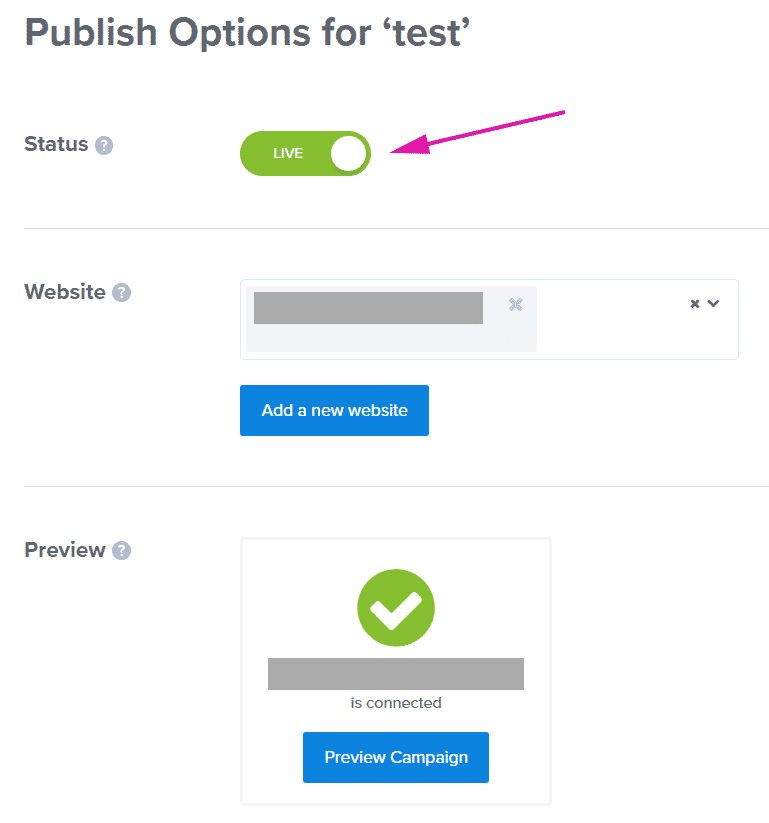
Next, select your website and preview the campaign you just designed.
Now, Go to your WordPress dashboard and go to the OptinMonster Campaigns and add it to your website.
Your campaign is live now.
Congratulations, you have added the spin to win feature in your WordPress website.
Final Words
Spin to Win feature is a great addon to any business website to get more conversions and leads. I’ve explained how you can add the spin to win feature to your website by using OptinMonster.
just let us know in the comments below if this was useful to you.