
The holiday season is back and this is the time to scale your sales to the next level. The black Friday and cyber Monday is coming and you know how important these days are for businesses. You need to be ready to sell more during this holiday season.
Countdown timers are really a great way to sell things fast online. It creates urgency and that’s how you can sell things quickly. In this quick guide, I will be sharing with you how to boost sales with countdown timer popups.
This is going to be really useful if you have your online store and you’re looking for ways to increase your sales. This can be a great addon to your marketing campaigns for this holiday season.
In my recent blog, I shared with you all about How to Create Spin to Win Campaigns in WooCommerce to increase your sales using OptinMonster. For the countdown popup, I’ll be again using OptinMonster.
If you’re new to this, Let’s know what OptinMonster is.
Table of Contents
What Is OptinMonster?
OptinMonster is a lead generation tool used by over thousands of businesses online to grow their email list and conversions. It provides amazing addons that can help you increase your conversions exponentially.
I love this tool, the value it provides for your business is amazing. The only point is that, If you’re just starting out then you’ll consider it costlier but once you’re in the game. You will know how it helps you in multiple ways.
You need to have an OptinMonster account for creating countdown timer popups. Use the link below to get exclusive discounts.
How To Create Countdown Timer Popup?
Before we start creating countdown timer popup, I would like to share some more resources related to OptinMonster which can be useful for you.
How to Get Started with Mobile Exit-Intent on OptinMonster?
How to Create Easy Notification Bars for Your WooCommerce Website?
How to Create Spin to Win Campaigns in WooCommerce?
Step 1: Create Your Floating Bar Opt-in
Login to your OptinMonster account and click on Create Campaign from the top right corner of the screen.

Now, Choose Floating Bar from the campaign type menu.
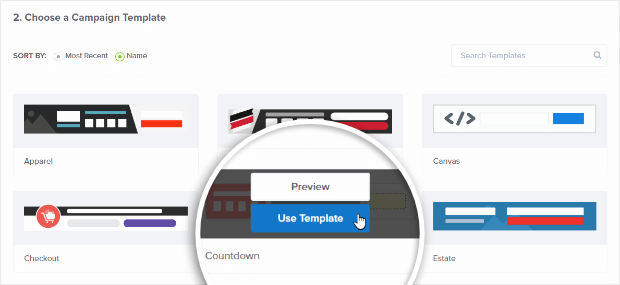
Next, It will ask you to choose a campaign template. Select Countdown as the template. click on Use Template.
Just put a name for your campaign and then click on start building and save your pop up by clicking on save from the top right corner of the screen.
Step 2: Updating Display Settings
You can define the locations of the countdown timer from the display settings. You just have to update the display settings.
Just click on display settings and then toggle load floating bar at top of the page to the On position.

Step 3: Customizing The Design
In this step, You can completely customize the countdown popup as per your business requirements. You can change colors, style, formatting and other customizations in the countdown popup.
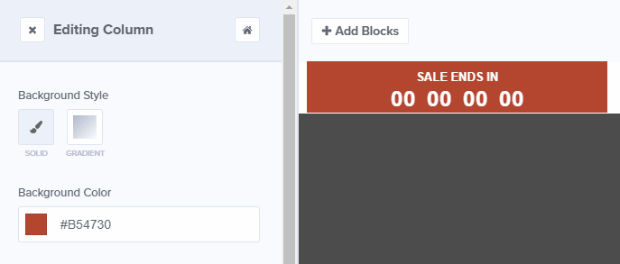
You can change the column background of the popup.
You can also customize the offer text by clicking on every element you want to edit.
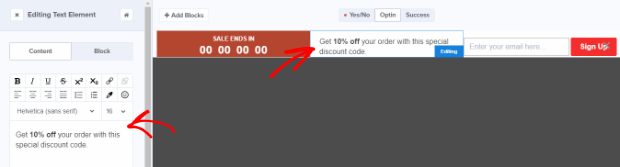
It’s a easy click and customize interface which will give you complete customization controls on the popup.
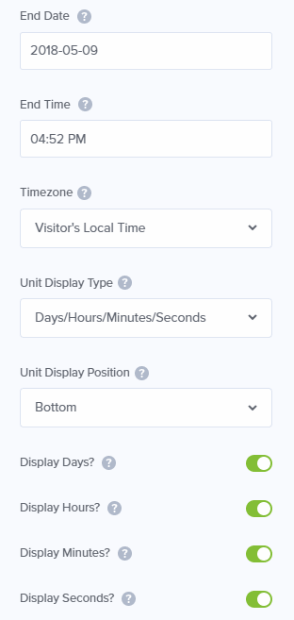
Step 4: Set Timer
It is the time to set the timer in your countdown popup. So the countdown will start running according to the defined date and time.
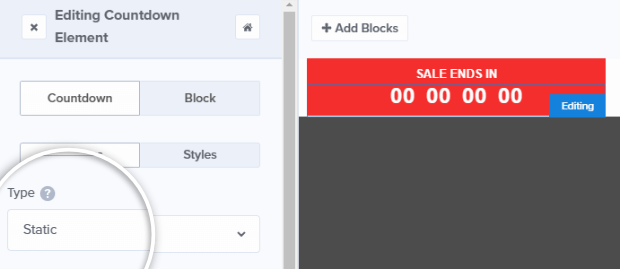
Click on countdown clock in the live preview for the editing tools. Set the type to static so when any visitor will come on your website, they will see the countdown bar.
Now go ahead and set the date and time of the sale expiry, like when the sale will be over.
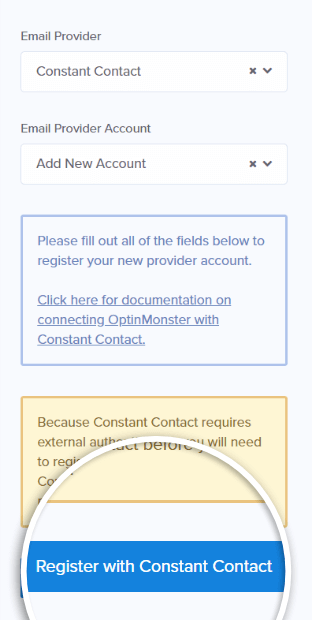
Step 5: Connecting Email Service
You also have to connect the popup to you email service, incase you will be doing lead generation for email marketing.
Just click on Integrations from the menu bar at the top of the screen.

Now you can choose the email provider from the menu and then you can connect your account with the respective email provider.
Step 6: Setting Display Rules
In the last step, you have to define the display rules. It is a very interesting feature of OptinMonster which lets you show your popups and notification bars based on multiple conditions.
You can set the condition of current date condition with the date of sale expiry date.

You can also define the URL path of the visitor, to show the popups to only those who are on a certain section of your website.

Wrapping Up
Countdown popups are a great way to increase customer acquisition and sales online. It will help you a lot if you sell things online on your store. I hope my simple guide helped you in creating a countdown timer popup on your website.
Do let me know in the comment section below if you face any issues.

